
Getting Started with Dollhouse Wallpaper
Things you'll need


Step-by-Step Guide to Applying Dollhouse Wallpaper
Applying wallpaper to your dollhouse is a must. It seems like it might be an easy task but there are best practices everyone should follow. If you don’t know where to start, follow this guide to avoid pain, hardships, and wasted wallpaper.

Step 1: Create a Template
Start by creating a template using construction paper, printer paper works as well. Make sure you have scissors and tape on hand. Cover the area where the wallpaper will be applied in your dollhouse with the construction paper. Use your scissors to cut the paper to fit the space up to each edge. Tape the pieces together to cover larger areas. For corners, bend one side of the template around outer corners or into inner corners, and have another wall's template fit its edge flush with the first template’s bent corner. This template will serve as a sizing guide for cutting the actual dollhouse wallpaper.

Step 2: Cut the Wallpaper
Once you have your template, place it on the wallpaper making sure both the template and the wallpaper are facing up. Either trace around it and cut along the traced lines or cut along the edges of the template as a guide. Do not trace or cut the wallpaper while it’s flipped over, this is an easy way to end up with your wallpaper backwards or upside down. Before cutting the wallpaper, pick out the baseboard and trim you'd like to use. Find the size of your chosen trim and account for this while cutting the dollhouse wallpaper. Using a straight edge while cutting the dollhouse wallpaper makes things much easier. Always remember when cutting paper that it’s easier to remove than add, so don’t feel pressured to get the sizing exactly right on your first try, be generous and give yourself some margin for error.

Step 3: Apply the Adhesive to the Dollhouse
When it comes to applying the wallpaper, you will want to use a specifically made dollhouse wallpaper paste adhesive. Wallpaper Mucilage is my personal favorite. Do not use Elmers glue or glue sticks, these will cause the wallpaper to warp, rip, and bubble. The key here is to apply a thin, even layer of adhesive to the dollhouse walls where the wallpaper will be applied. Be sure to cover the entire surface to ensure the dollhouse wallpaper adheres properly. I use a brush to spread the paste around the surface of the wall, making sure to go right up to each corner and edge as these are the spots the wallpaper is going to want to peel off the dollhouse. It’s important to cover the entire surface of the wall with a thin and even coat, missing spots or lumps of paste will cause an uneven surface after the wallpaper is applied.

Step 4: Attach the Wallpaper to the Dollhouse
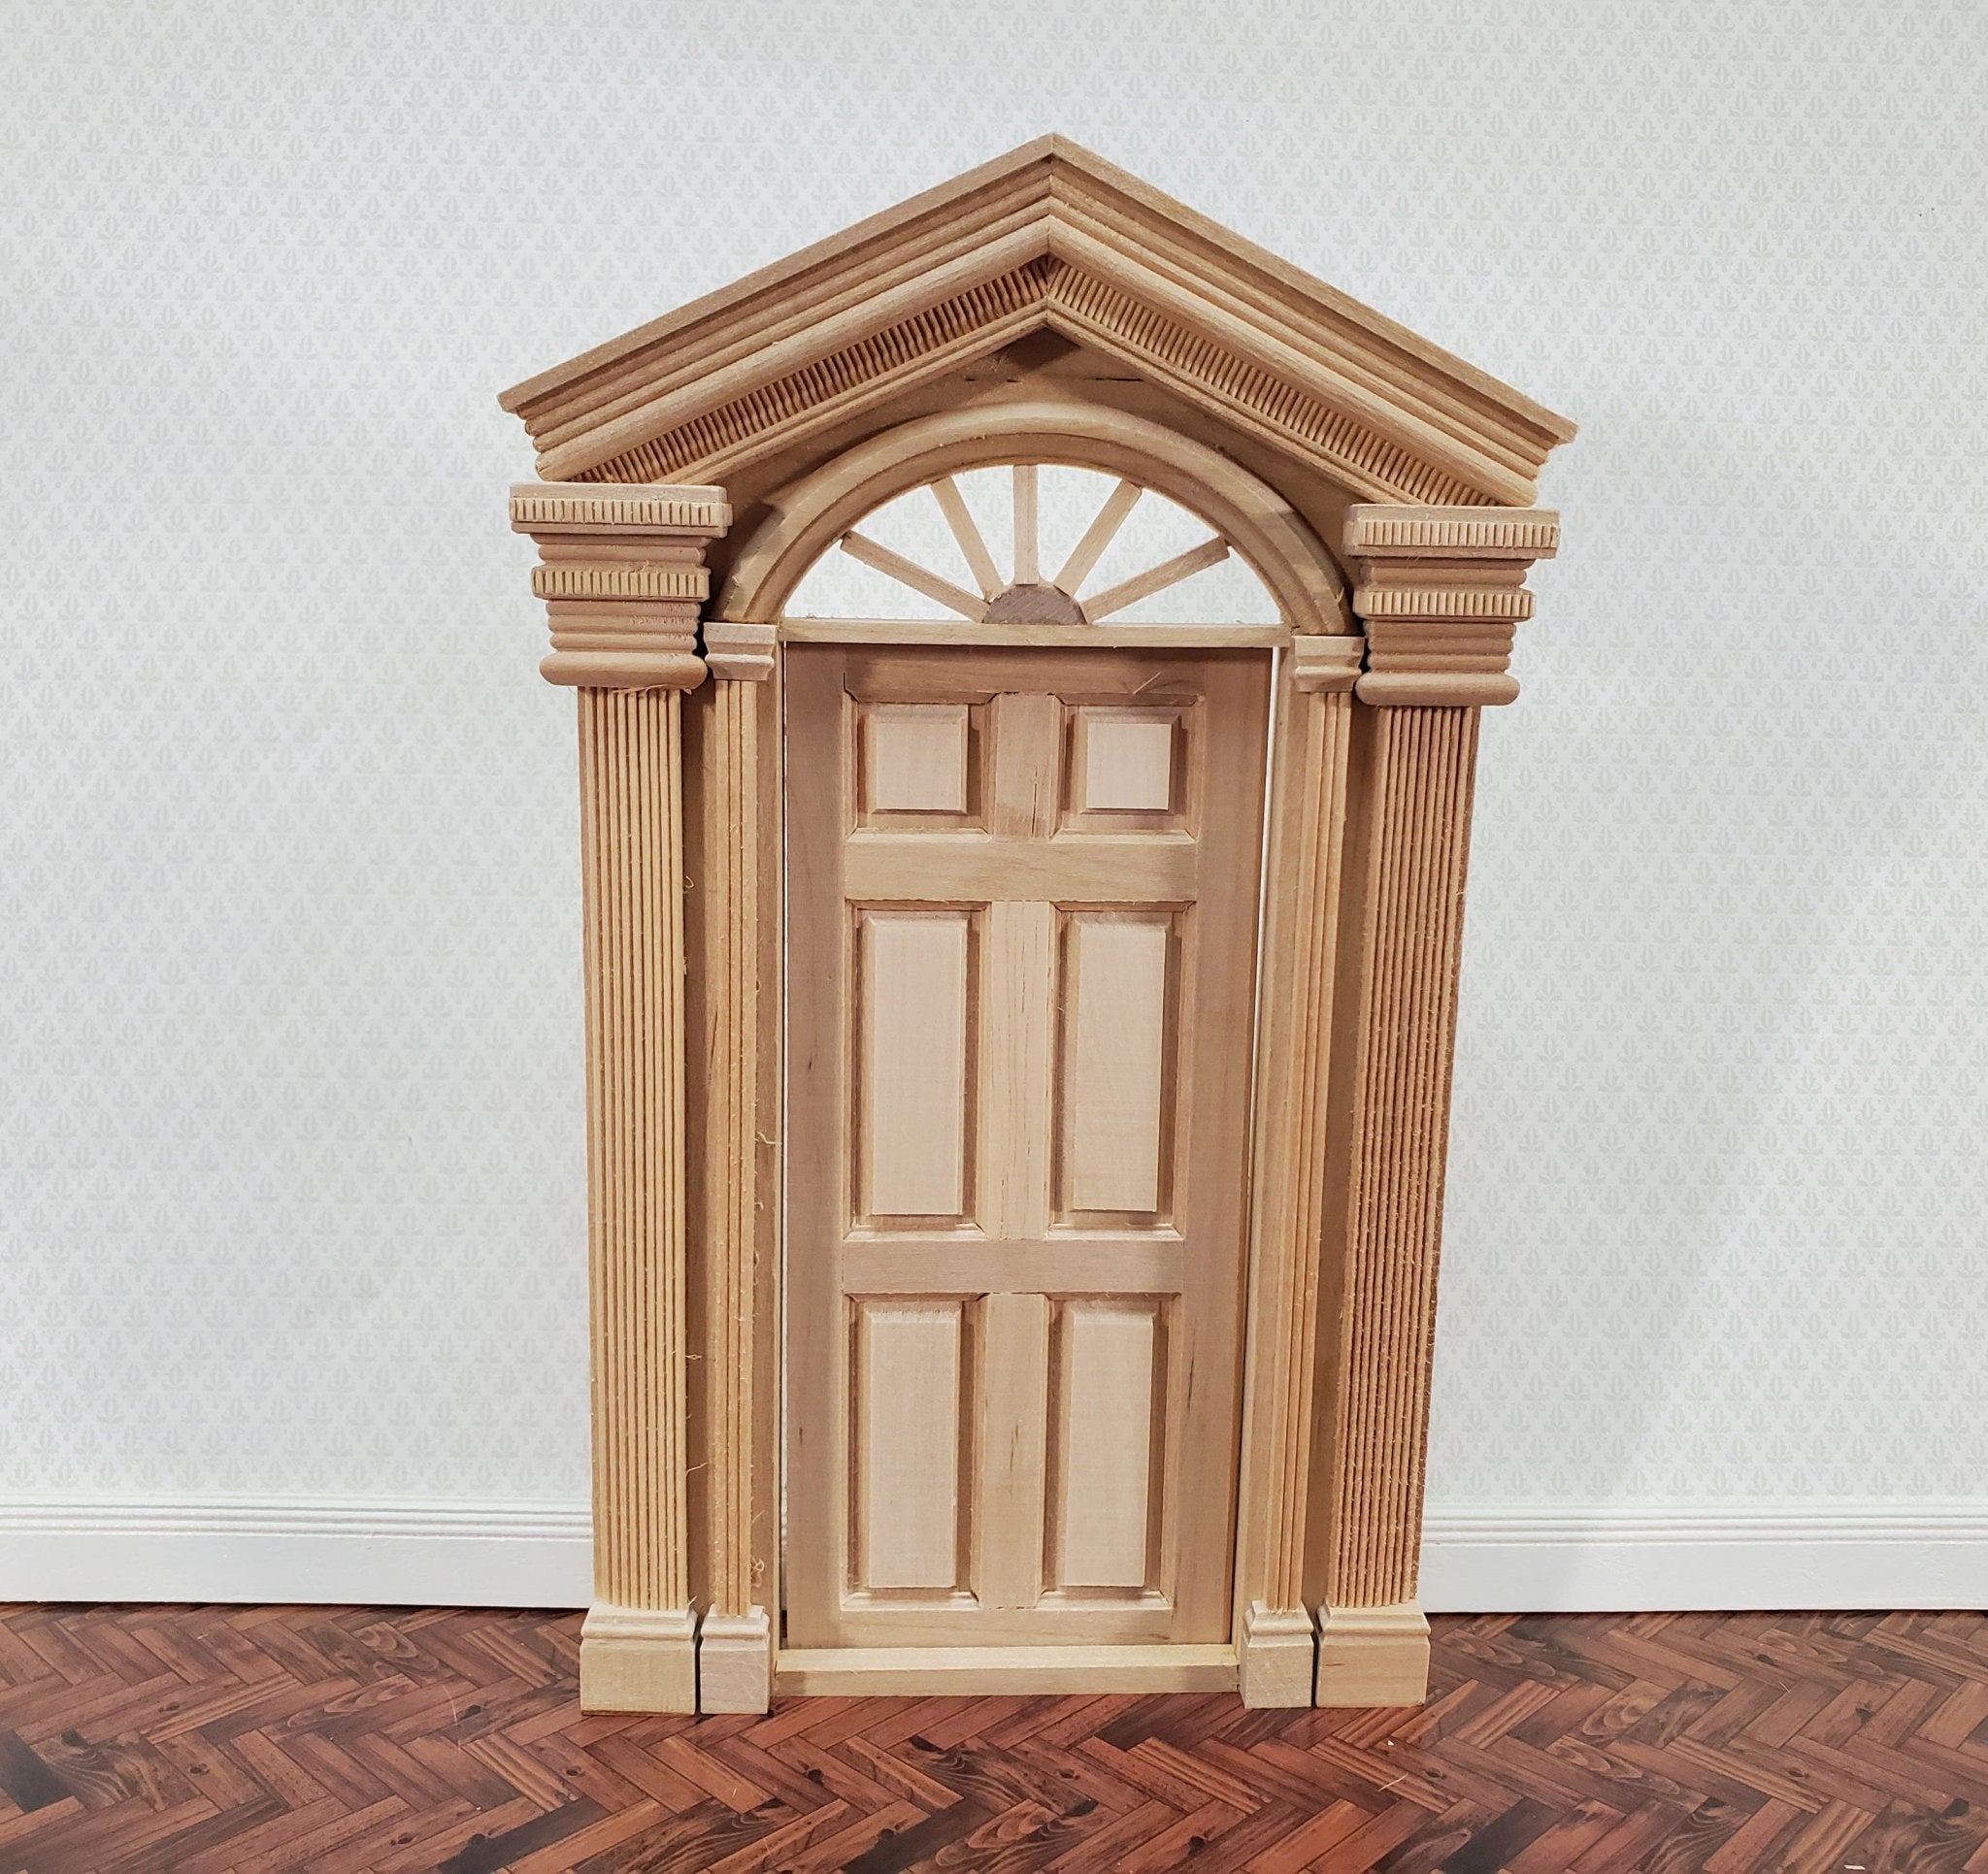
Carefully place the cut dollhouse wallpaper onto the glued surface, starting from one edge and smoothing it out as you go to avoid air bubbles. After the wallpaper is on the wall, I use a scrunched paper towel to clean up any excess glue and ensure each part of the wallpaper is applied to the glue underneath. Right after application, there is a little bit of time to adjust the rotation and placement of the wallpaper. Be careful while doing this as the glue can dampen the wallpaper and cause it to easily rip. If you adjust the wallpaper, do so slowly and make sure you apply any movement to the entire sheet rather than just a corner or side. Give your glue a day or so to dry, then use an exacto knife or box cutter to cut out any doors or windows. If your sizing is not perfect, some wall is showing, or there are frayed edges, keep in mind it will be covered up by baseboard or trim.
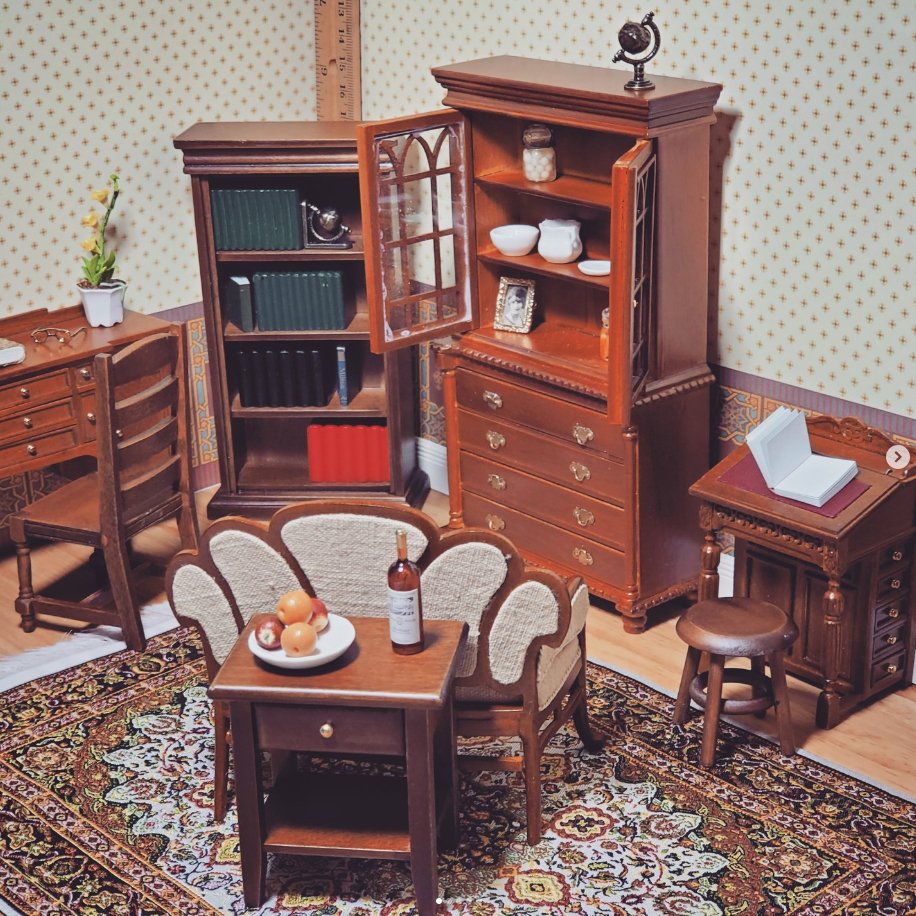
And just like that you've applied wallpaper to your dollhouse. Dollhouse wallpaper creates the foundation for a rooms setting. Customizing this is a huge part of bringing a dollhouse to life.


Leave a comment